Gallery Block
The Gallery block is a block that allows you to create a photo gallery of photos that will be displayed as a grid on the page. The photos can also be clicked on to show up in a lightbox gallery that the user can click through.
1. Log into Enterprise Web
2. Find the add block button in the upper right hand side of your edit bar and click it. It looks like this: 
3. In the menu appears, find the Gallery Block.
4. Click and drag the block onto the page anywhere that you like. The block edit menu will pop up.
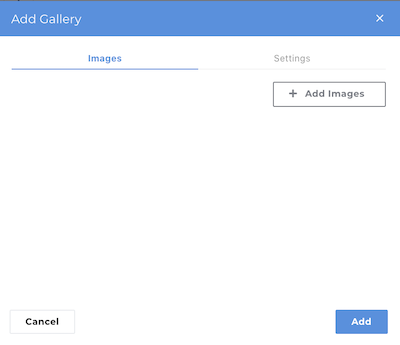
5. From here, you can click the “Add Images” button to add new images to your gallery. Clicking the button will open up the file picker.
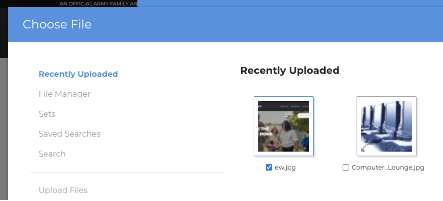
6. You can check the box next to the image you want to load into the gallery, and then click the “Choose” button in the lower right hand corner of the window.
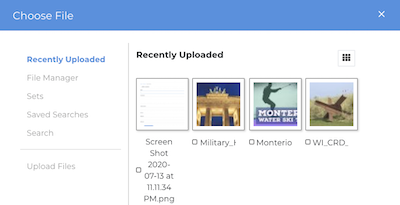
7. Repeat this process until you have all your images loaded into your gallery.
8. When you hit “Add” on the block edit screen, you will see your gallery appear on your site in a 2x2 grid:

9. If you want one of the images to take up a full column by itself, you can click on the image in the edit interface. Then under the “Display Options” header choose the “Wide” option. This will result in the image taking up a whole slot for itself. This can help even out odd-numbered layouts.
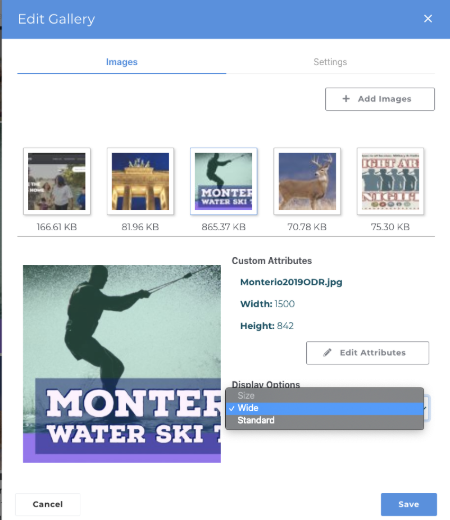
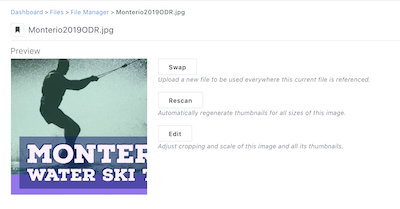
10. When you click on an individual image, you can choose “Edit Attributes”. This will open the file manager in a new tab where you can edit the attributes of the image, such as the alt tag, description, etc.
Results
Creating galleries on your site can really liven up the content and help bolster the sense of community and connection to the users of your site. Once the gallery is on the page, users can click any of the images to open up a lightbox that allows them to page through the gallery of all the images.